
Unit 21
Research:
Learning Aim A: Filming And Editing
Types:
What is a ''Shot''?
A shot is a camera technique where you capture multiple footage used for a continuous or non continuous sequence.
What is a ''Sequence''?
A sequence is a continuous coverage taken with a combination of shots.
What is ''Editing''?
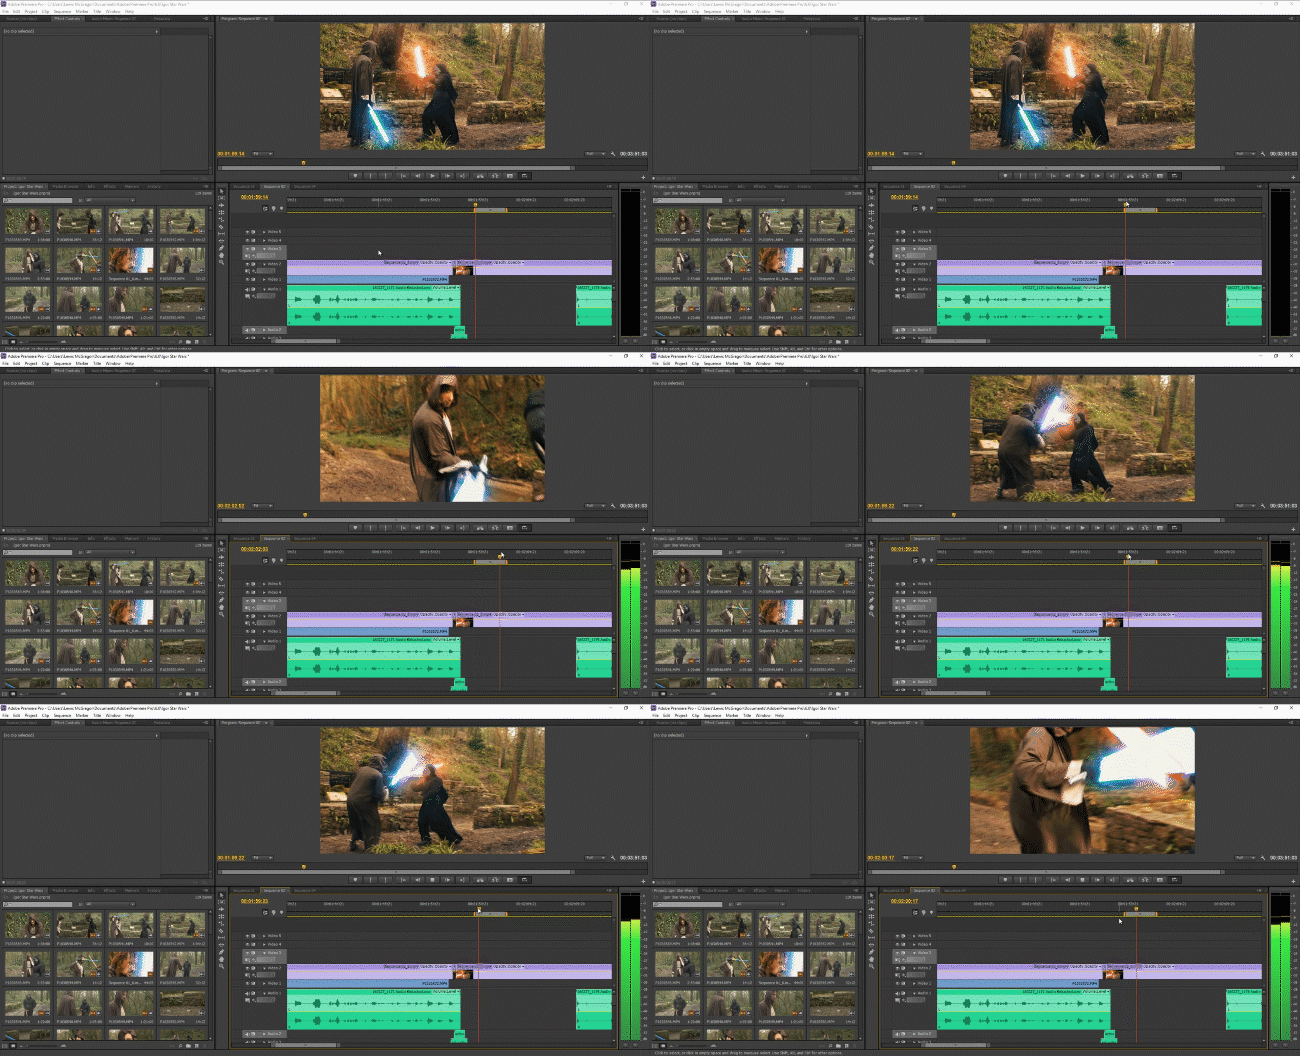
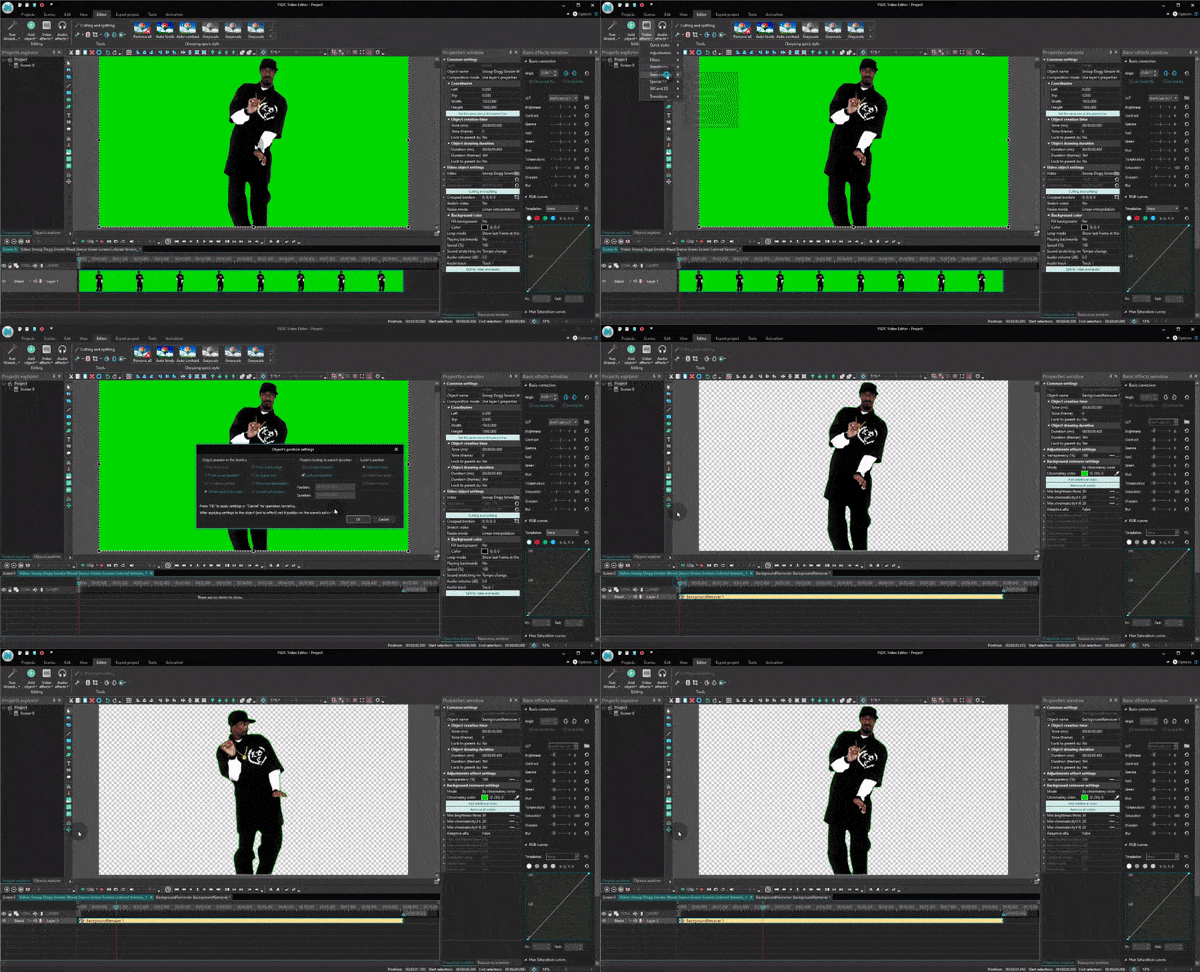
Editing is when you gather footage previously taken to then go over and to add effects, create a fluid showing, add sound, and to add or cut parts into the footage.
What is the role of an editor?
The role of an editor is to ensure the footage brought is carefully selected based on the combination of shots given to the editor getting a fluid end result of the footage.
What is ''Continuity'' editing''?
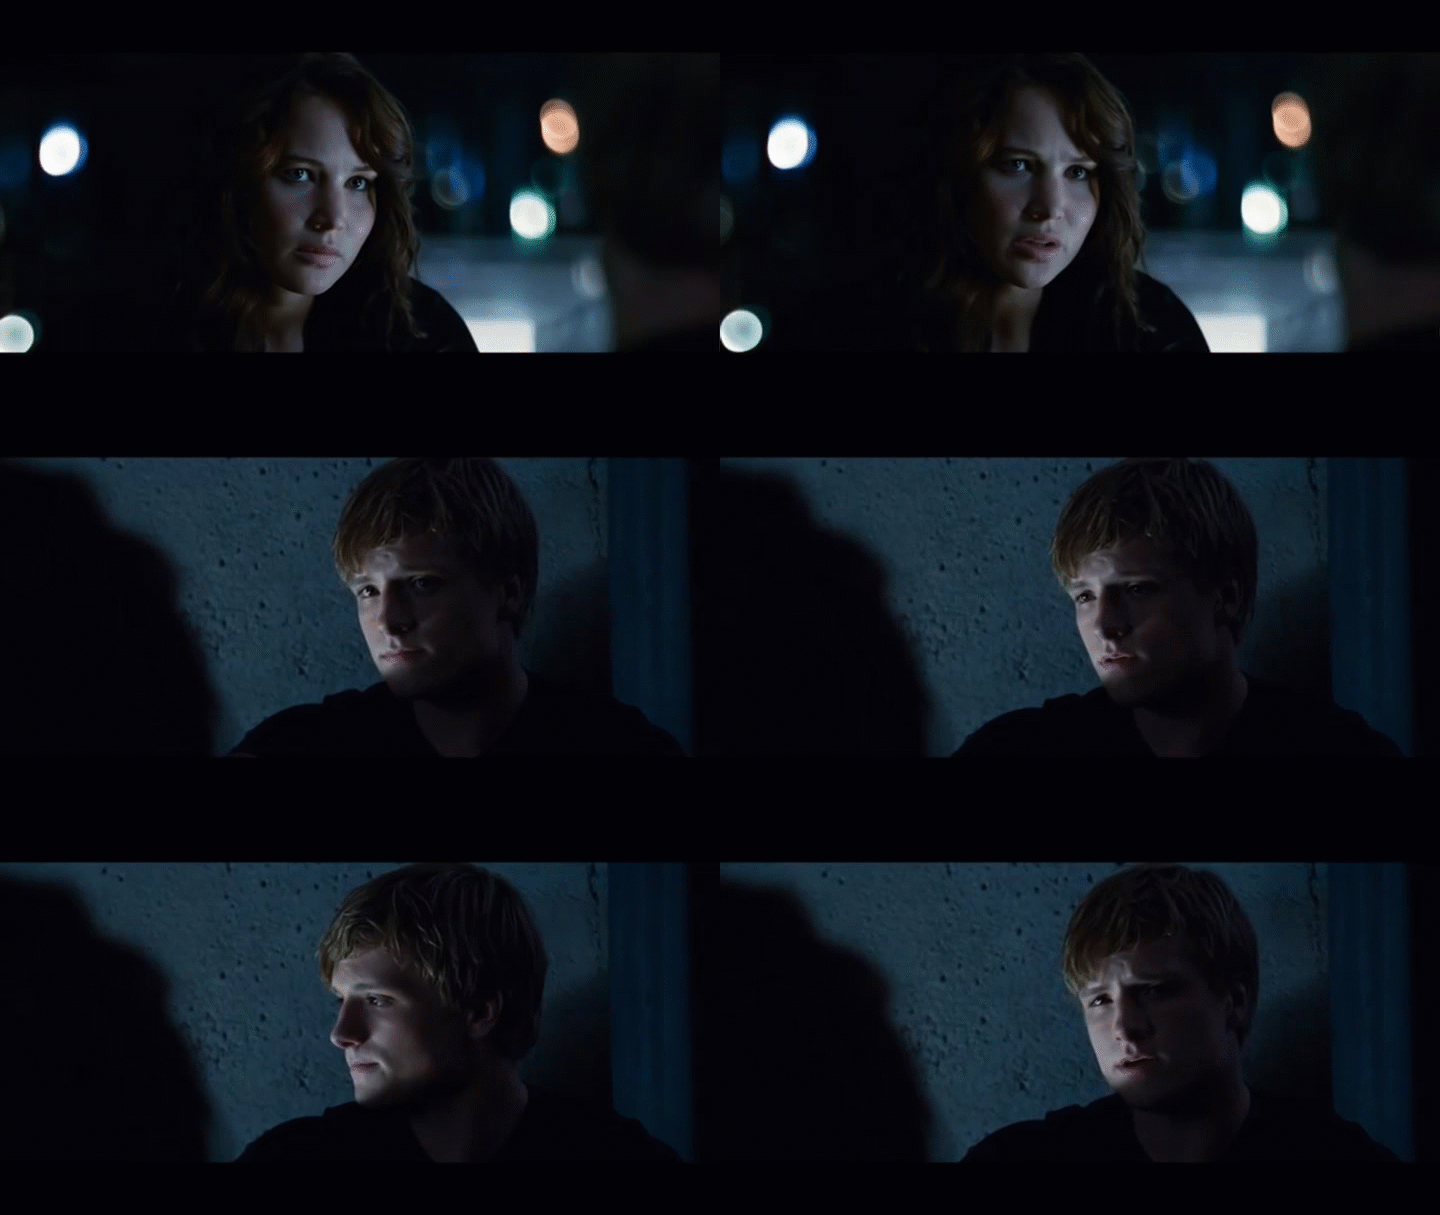
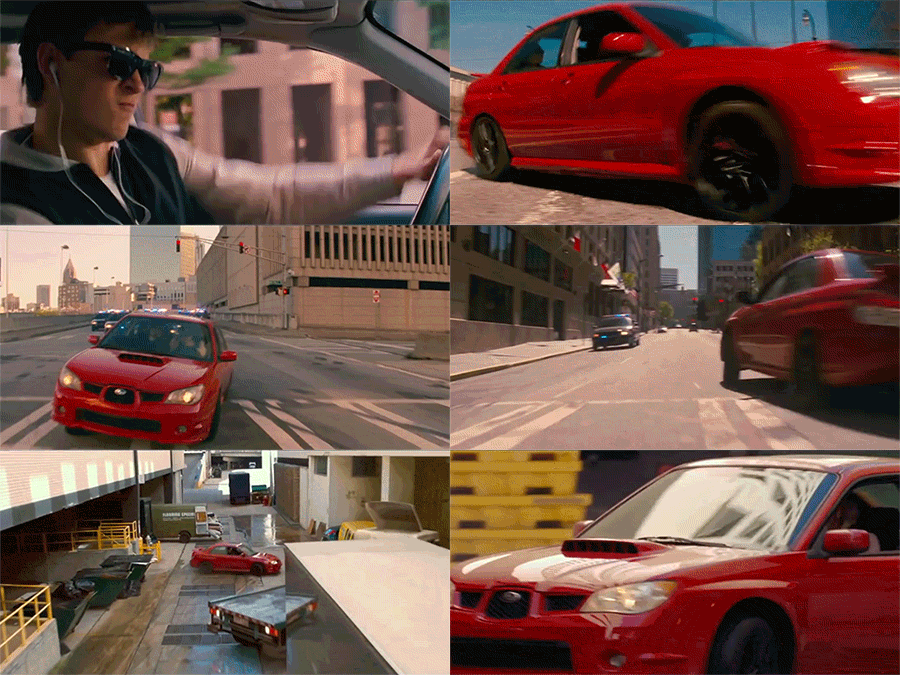
Continuity editing is the fluidity of a combination of shots.
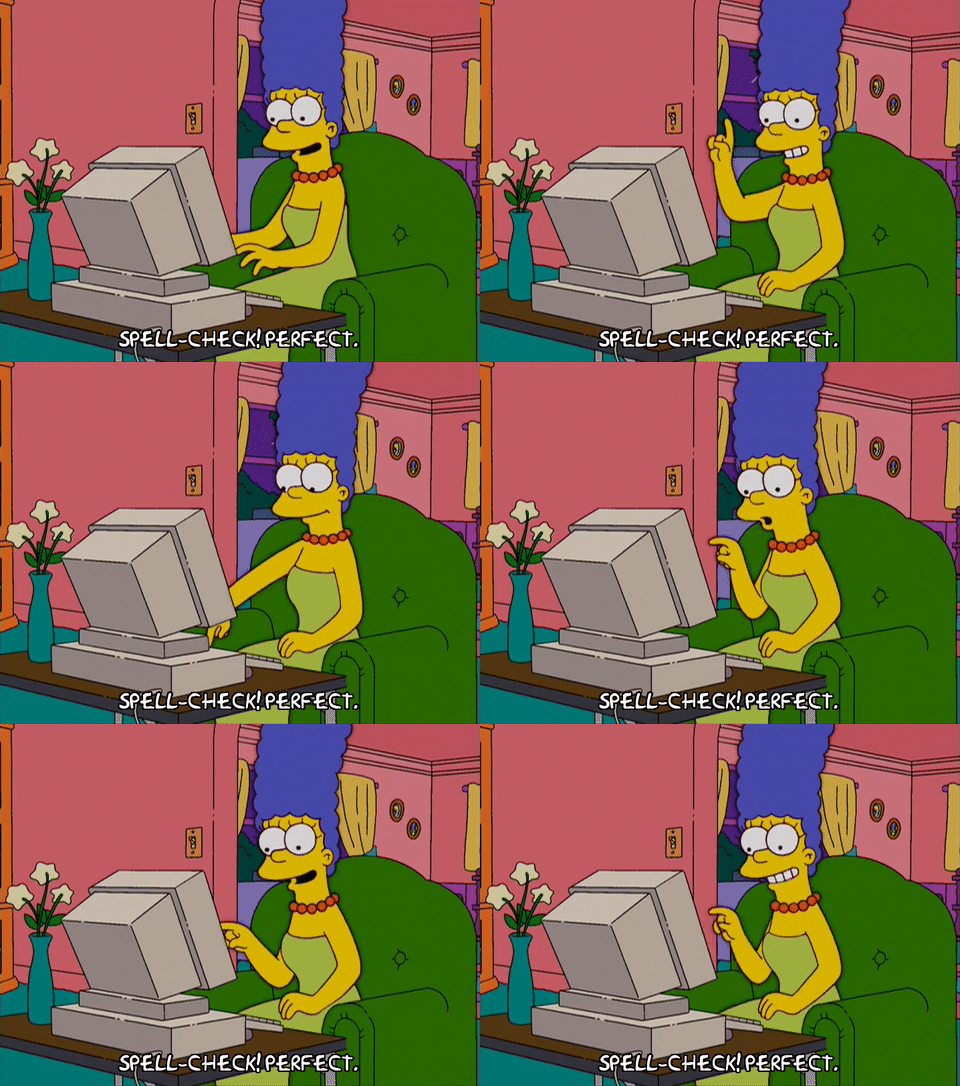

What is ''Non-Continuity'' Editing?
Non-Continuity editing is when the combination of footage gathered for editing is not made in a fluid flow.
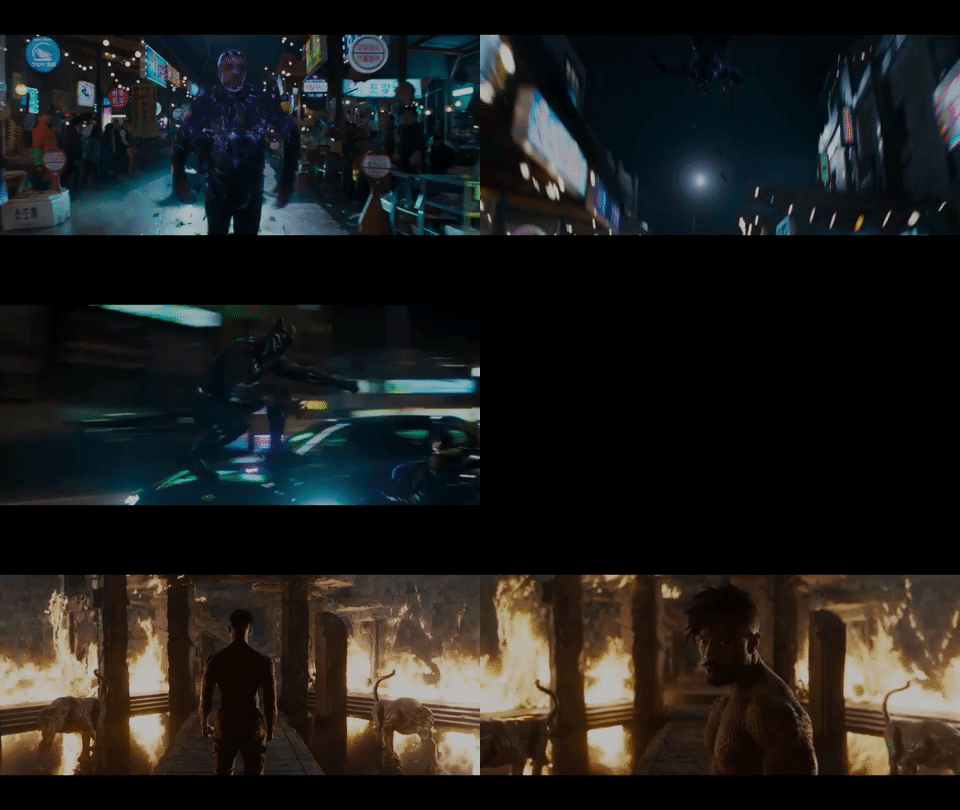
What is ''Montage'' Editing?
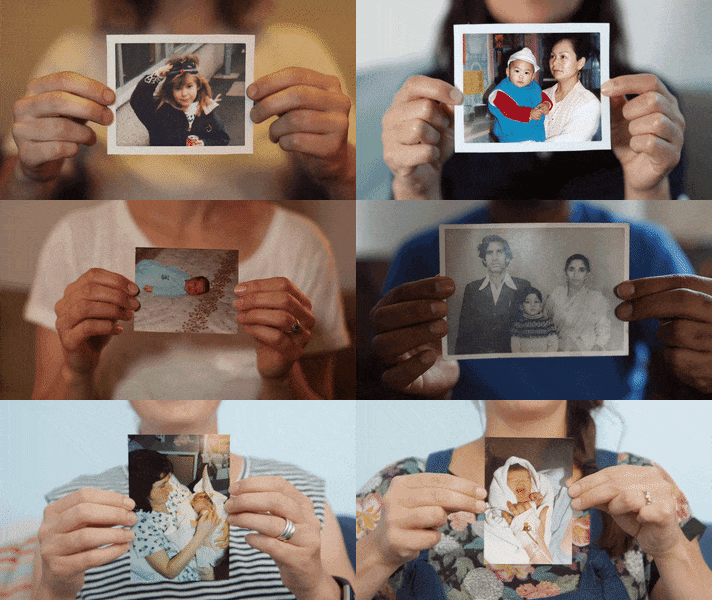
Montage editing is when there is a combination of shots that do not align with each other.

History:
Johann Zahn
1685
Joseph Nicephore Niepce
1827


Johann Zahn was a German author, born in 1631.
Johann Zahn designed the first camera, that was smaller and more portable than the original cameras we see today. However, his idea's were not fully known, till the 1800's.
Info Ref. Wikipedia
Edwin S Porter
1903
Edwin S Porter was an American film pioneer born in 1870. Who was most famous for being a director, cinematographer and a studio manger. However, his inventive use was dramatic editing, placing together different scenes taken from different places and constructing them together, editing the first film that was 10 mins long in 1903.
Info Ref. Wikipedia /biography Edwin S Porter

Joseph Nicephore Niepce was a french inventor born in 1765, who was known as the first person to take a permanent photo graphic image, using the heliography process to capture the first picture, which was taken in 1827.
Info Ref. Britannica/Wikipedia
Louis Le Prince
1888
Louis Le Prince was a French artist and inventor of the early motion camera, born in 1841. Who was the first recorded person to of filmed a movie, in 1888. Called Roundhay Garden Scene.
Info Ref. Science direct/Wikipedia

D.W Griffith
1915

D.C Griffith was a famous American pioneer and motion picture director born in 1875. Who was credited to of inventing the basic editing techniques added to films, with an example being close ups, long shots and many more. An example of his works would be in the 1915 “The birth of a nation” film.
Info Ref. biography D.W Griffith
Narrative:
Enigma Codes
This is when a particular occurrence happens, that conveys mystery to draw the audience in.
Linear
A Linear is where a specific thing goes all through, from the start to begin without any type of disruption in a chronological flow.
Non-linear
A Non-linear is the opposite of linear, where a specific thing does not follow all the way through but has free movement to disrupt the chronological flow.
Multi-strand Narratives
A multi-strand Narrative is where there is more than one main character, with multiple plots shared out between the characters rather than just one.
Serial Narrative
This is the story of the writers, ideas and reaction of his or her audience.
Flexi Narrative
This is a more complex narrative structure with layers of interweaving narratives. Which makes the audience want to keep on watching, also challenges the audience with twists and turns.
Episodic Drama
This when a narrative is shot in small chunks rather than creating one lengthy and slow build-up of tension, which often happen in chronological order.
Unrestricted Narrative
This when the audience knows more, than character. Which is done to create suspense and tension.
Restricted Narrative
This is when the audience is only seeing the point of view of a single character, Making the audience know only what the character knows and nothing more.
Techniques:
What is a Straight Cut?
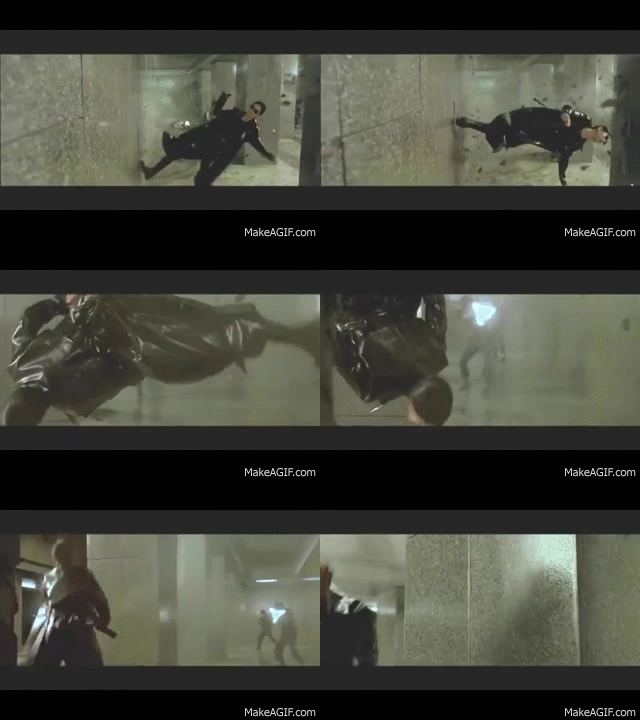
A Straight Cut is a technique widely used in film today, used to get to the next shot from the same scene being a simple transition from one cut to another.
What is a Transition? (Fades+Wipes+dissolve+washes).
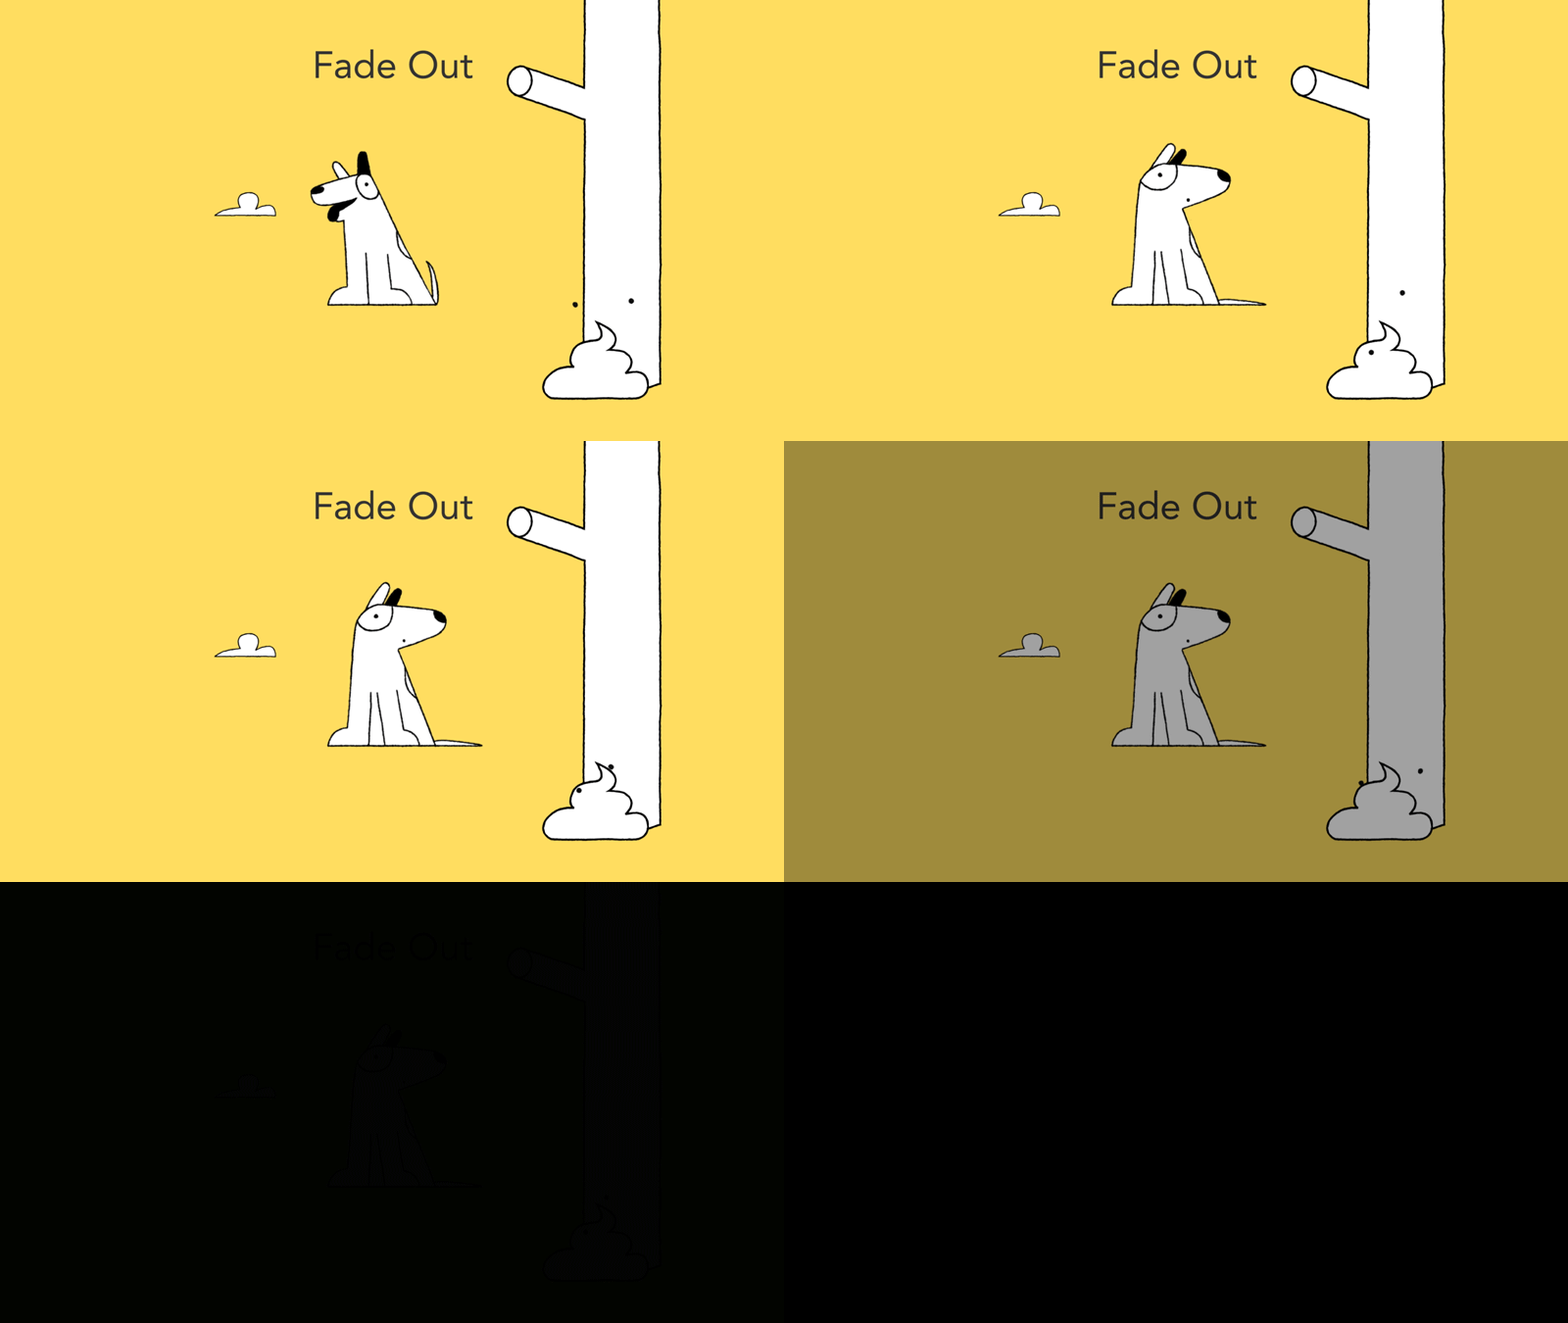
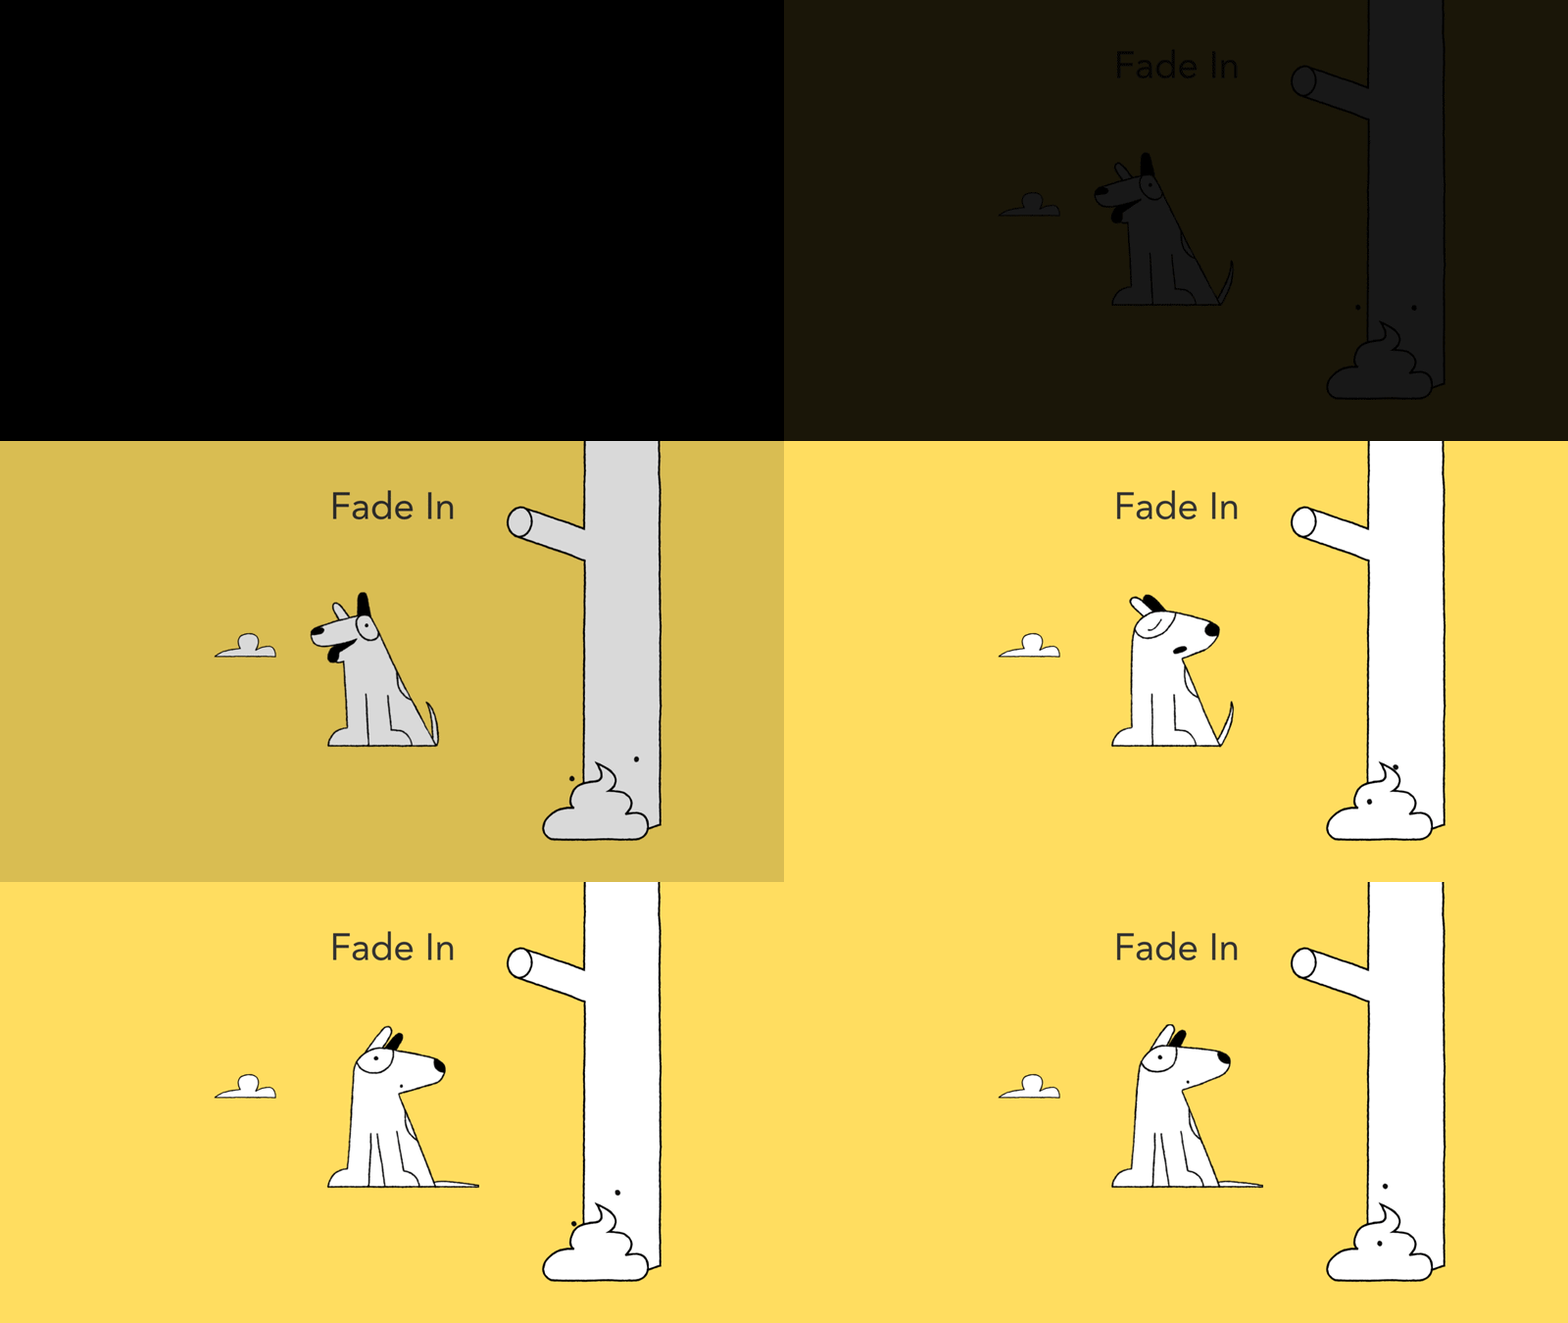
Transitions are techniques used in the post production process used, in editing combining of shots in different ways. The use of these transitions are used to convey tone and to create different effects intended for the audience. An example of a transition technique would be a Fade, as this is when the scene gradually fades into a single colour, commonly being either black or white. This technique is normally used in two parts of a film, being the start with the Fade in (white) to then the ending of a film which fades out (Black). this is used to set mood. A dissolve is a technique used in editing which, is a transition in which one shot begins to disappear to the next shot, with the second gradually appearing after. This editing technique is used to create a more creative way of editing. A Wipes technique, is where one shot moves to another by using a sliding animation, which gives an effect of a literal wiped shot, being wiped to reveal the next shot. A wash shot is when the whole screen is covered in colour, to either be washed out or washed in.

What is Cross Cutting/Parallel Editing?
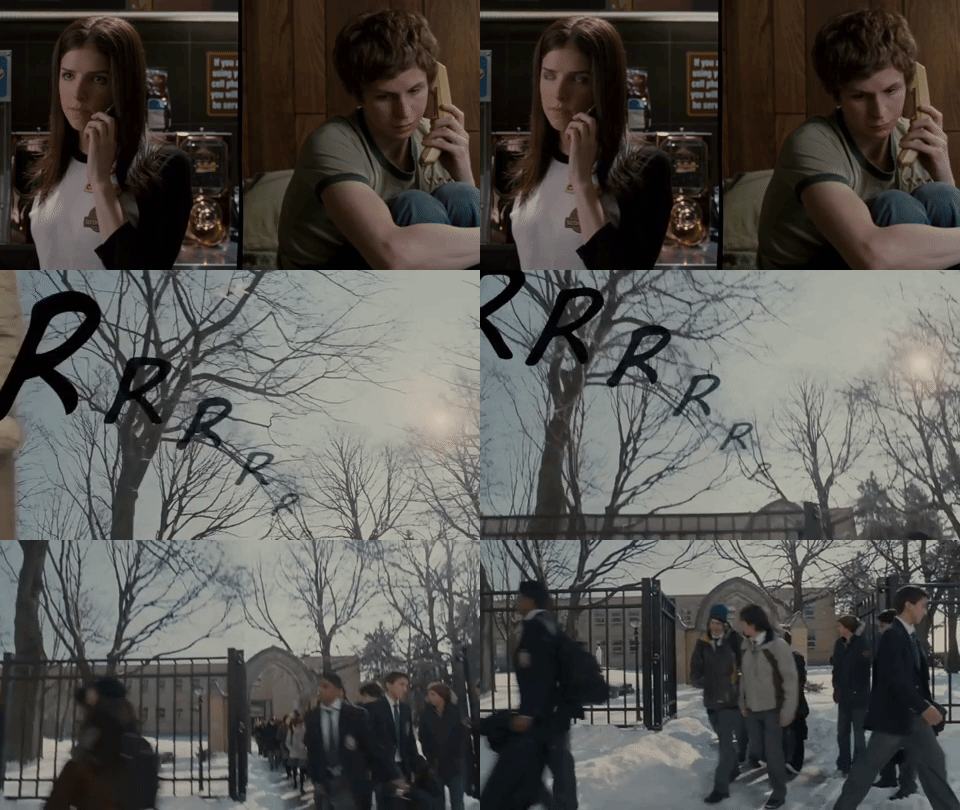
Cross Cutting is a technique used heavily in movies, used in switching with cuts back and fourth between scenes. Done to create an effect of whats going on between the scenes, to seem like it is happening in the same moment of time, but happening in different locations, creating an more entertaining scene. Parallel Editing is a film technique where two or more scenes are intercut together to convey a storyline from different perspectives. This is also a technique used heavily in scenes, done to convey an unique effect.
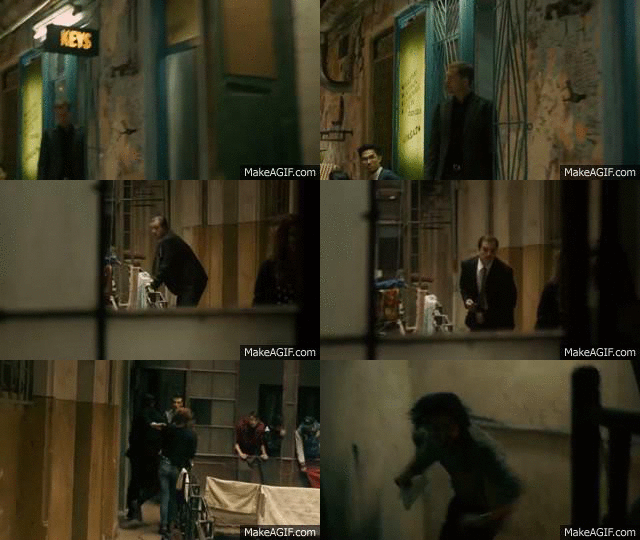
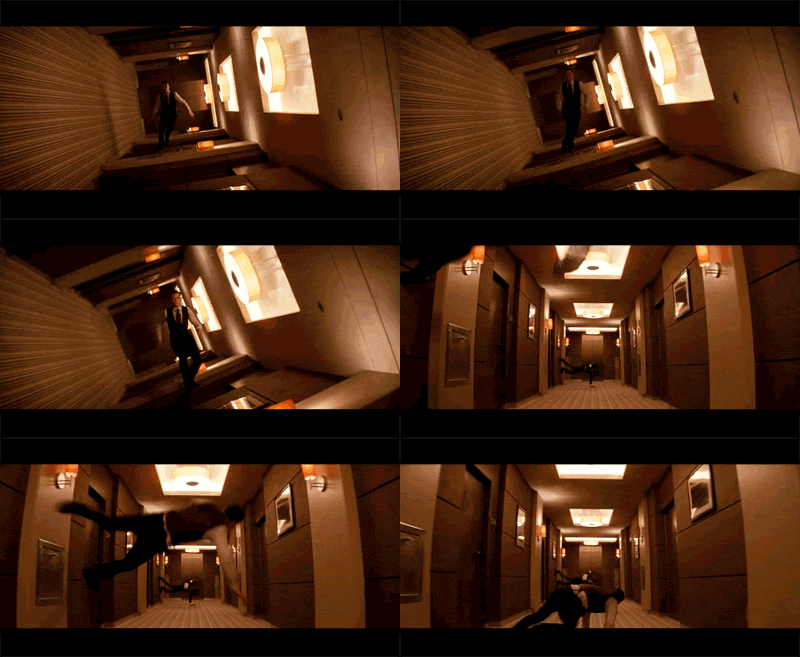
What is "Quick Cuts"?
Quick cuts is a filming technique that consists of multiple 1-4 second shots, added together to create an effect of chaos, action, urgency or an introduction of something, that depends on the scene. However, Quick cuts main purpose is to condense the information given into a lesser time that the information is conveyed to the audience.

What is a "Long Take"?
A Long Take is a shot with a duration of much longer time than normal, which could last up to 10 minutes compared to a quick shot lasting up 1-4 seconds. A Long Take is commonly used as establishing shots, which is used to introduce the audience to the new setting that is being shown, this editing technique is also used process everything happening in the scene with a steady paste.
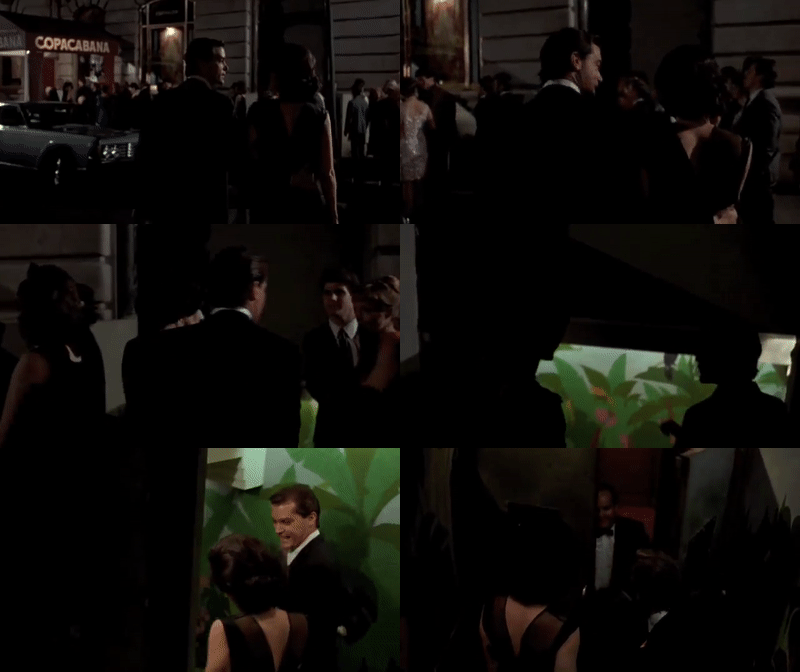
What is the "Elliptical Editing technique" ?
The Elliptical Editing technique, is used with Long Takes of shots that are important to the actual narrative, then condensed and shortened into small shots combined together to convey a more interesting effect. The Purpose of elliptical editing is also to control the pace of the film that the editor would want the film to be, being either to change the speed to make the pace of the film faster, or slowing it down making the pace slower the film.
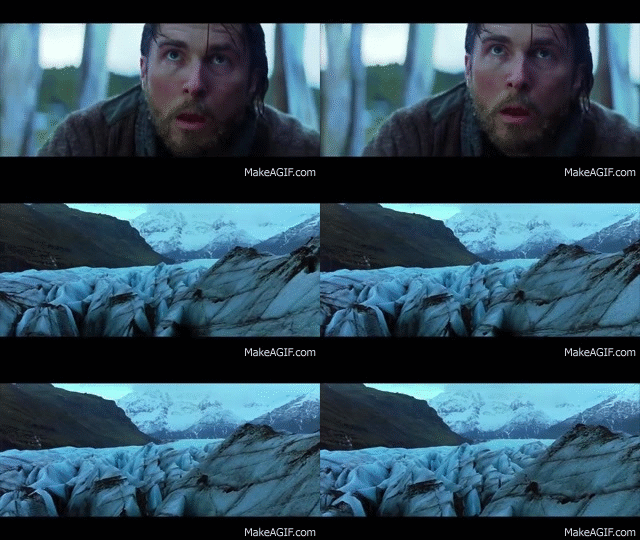
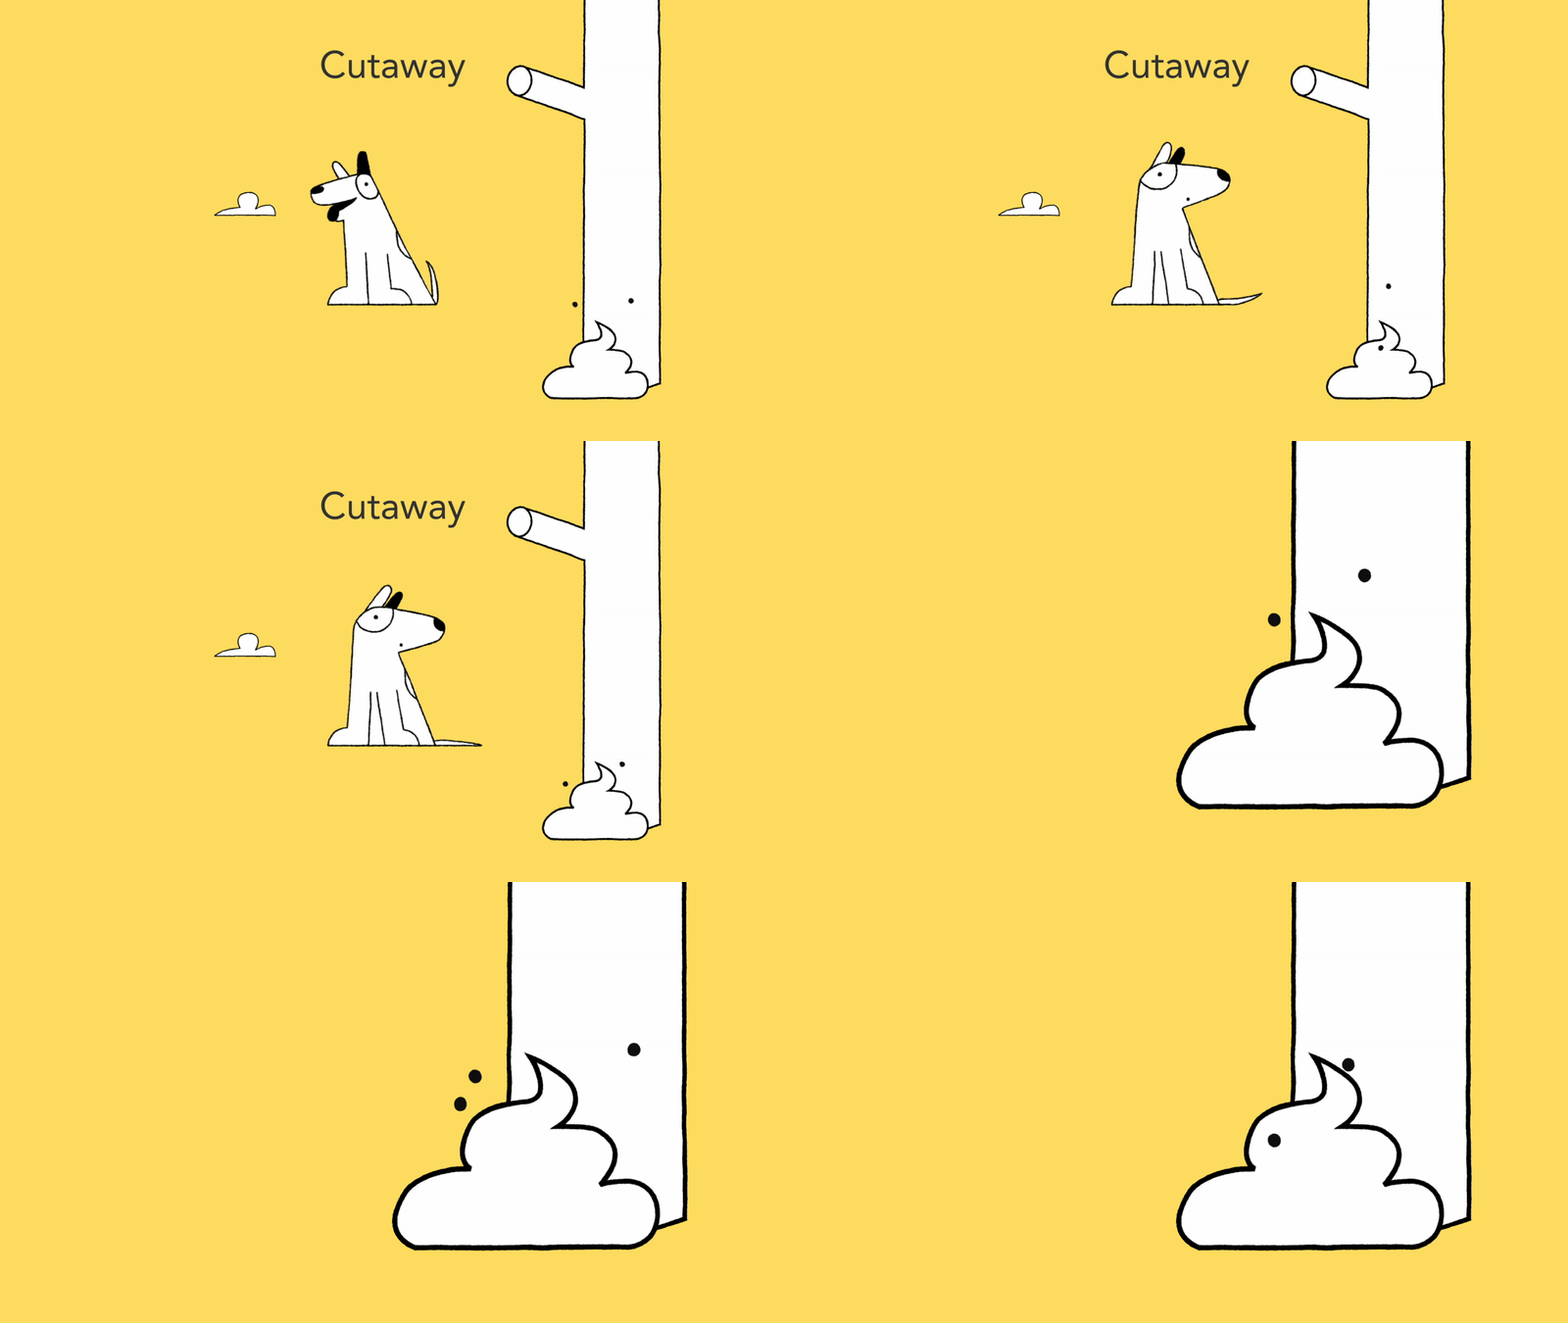
What is the "Cutaway Technique"?
A cutaway shot is a shot that cuts away from the main action to show something else in the space, such as an object or location. The purpose of this editing technique is to mainly break the loop of the match on action sequence, making the film open to free movement.
What is a "Cut in Technique"?
The cut in shot is like the cutaway technique but, this shot focuses more on showing of some of the subject in detail. Which could be used to convey emotion, movement or action, through the camera techniques like, medium close ups, Extreme Close ups,Close ups and Establishing shots.
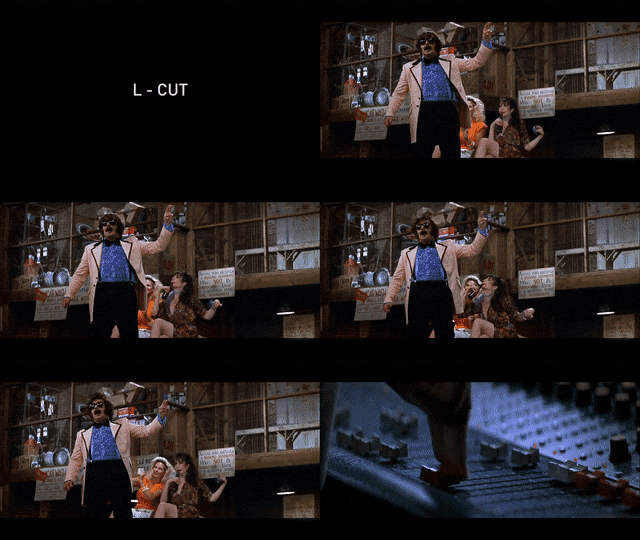
What is a "L Cut Technique"?
An L-Cut is an editing technique, where the audio from one shot carries over to the next shot following the scene in a linear flow, which is commonly used in characters having a conversation. The purpose of this editing technique, creates a natural flow of dialogue between the characters, helping the audience express the reality of conversation. The "L" added to the term "L-Cut", is used based on how the technique is made on the timeline, in an L shape.
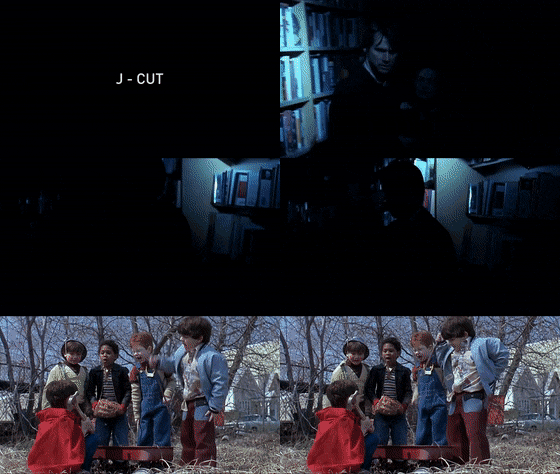
What is a "J-Cut Technique"?
An J-Cut occurs when the audio of a scene leads into the next scene that's being shown. The technique is used to convey, the shortness of a scene or to emphases how dragged out the editor wants the scene to be. This done to show the audience that the story doesn't end as it leads to the next scene.
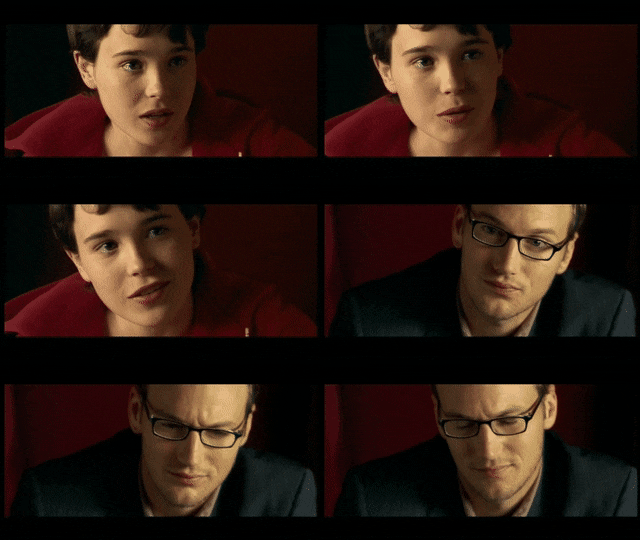
What is a "Eyeline Match Technique"?
The Eyeline Match Technique is used to indicate to the audience what the character is viewing . This type of shot would show the character then shortly show what the character is seeing, showing the same angling in the same way as, how the characters is views it. This technique also, ensures the continuity of the gaze of the character, conveying a point of view feel expressed to the viewers.
What is "Match On Action Technique"?
The Match On Action Technique, is where the editor cuts from on shot to another shot which matches with the first original shots action. This creates a different point of view, of the action that the character is doing.
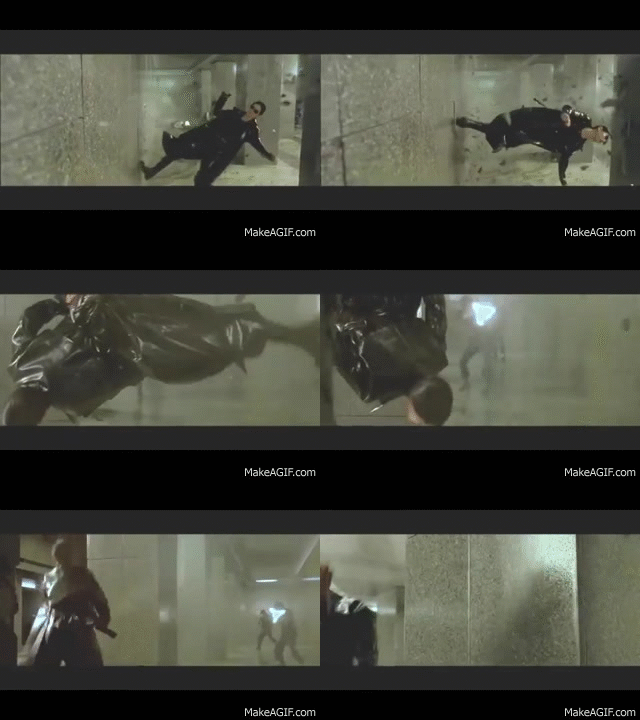
What is a "Shot/Reverse Shot Technique"?
A Shot/Reverse Shot technique is when the character is shown looking at the other character, and then the other character is shown looking back at the character. The use of this makes it seem like it is happening in real time.
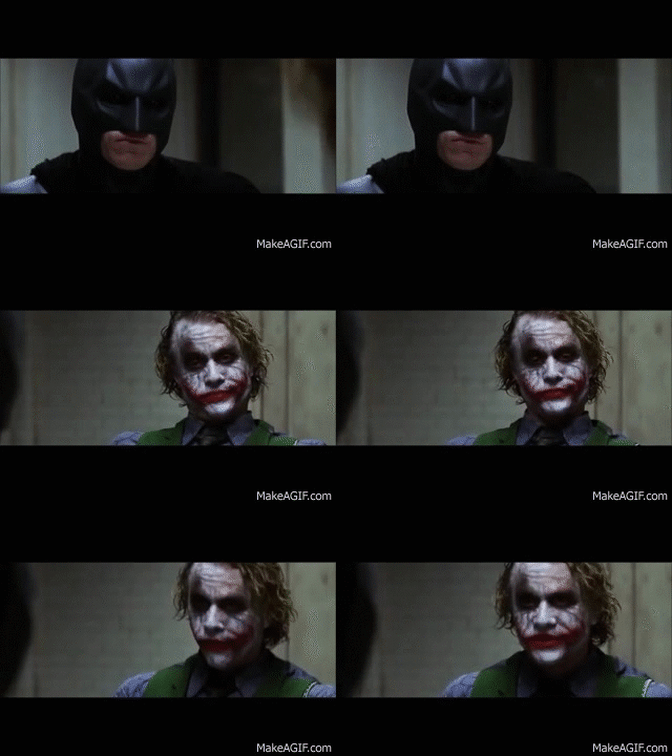
What is a "Reaction Shot Technique"?
This is when something happens in a scene and the shot then cuts away to a character and we just see their reaction of it. However, the purpose of this technique is used to enable the audience to work with what the character is thinking.
What is "Establish shot Technique"?
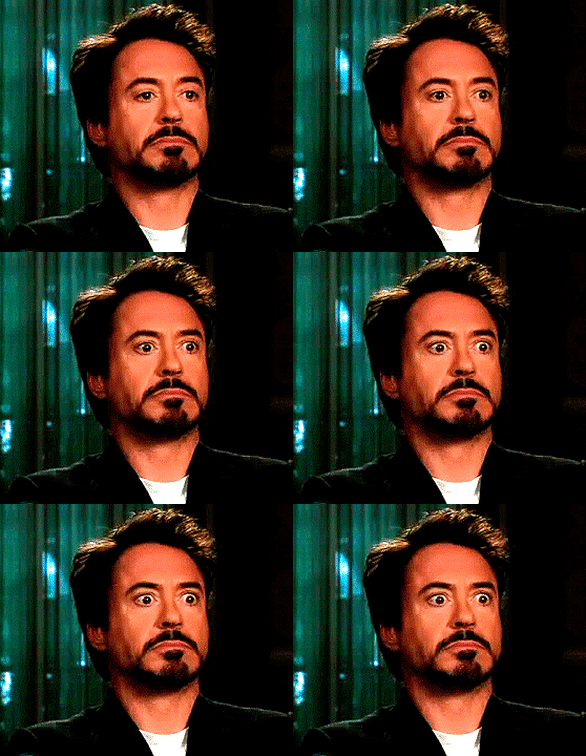
An Establishing Shot is a technique typically used in the begging of a scene to establish the overview of the scene that is being shown. The effect of this scene is used to help introduce the shift of location or to introduce a scene to the audience.
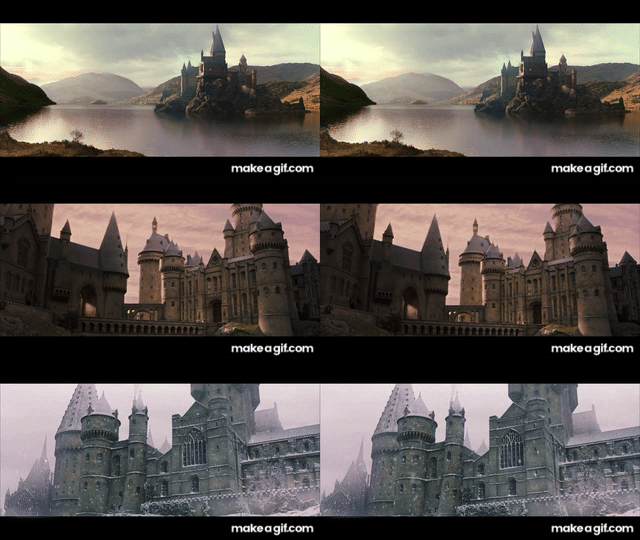
What is the "30-degree rule Technique"?
The 30-Degree Rule Technique is a basic rule that states the camera should move at least at a 30 degree related to the subject between the related shots. This makes two successive shots different enough to not look like a jump cut. The purpose of this technique is of creating continuity between shots when a lage group of shots are captured.
What is the "180-degree rule technique"?

The 180-Degree rule is a filming technique that is used to help the audience keep track on where the characters are in a scene. In more detail, this is where there are two people or two groups in one shot facing each other placed on a straight line, with the camera placed in an angle, capturing the characters in a 180 degree angle. The purpose of this technique is used to preserve visual continuity editing.
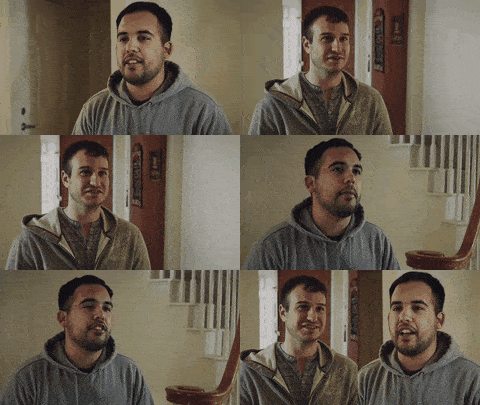
What is the "Jump Cut Technique"?
A Jump cut is a technique in which, the continuous shot of a scene is cut into two parts. With a piece of the shot being removed to create the effect of a shot jumping forward in time to create one shot.
.jpeg)
What is a "Graphic Match Technique?"
Graphic Match technique is when the first and second shot share the same shapes, colors and layout. And the purpose of this technique is used to introduce, the next shot to the audience in an more visual appealing way.
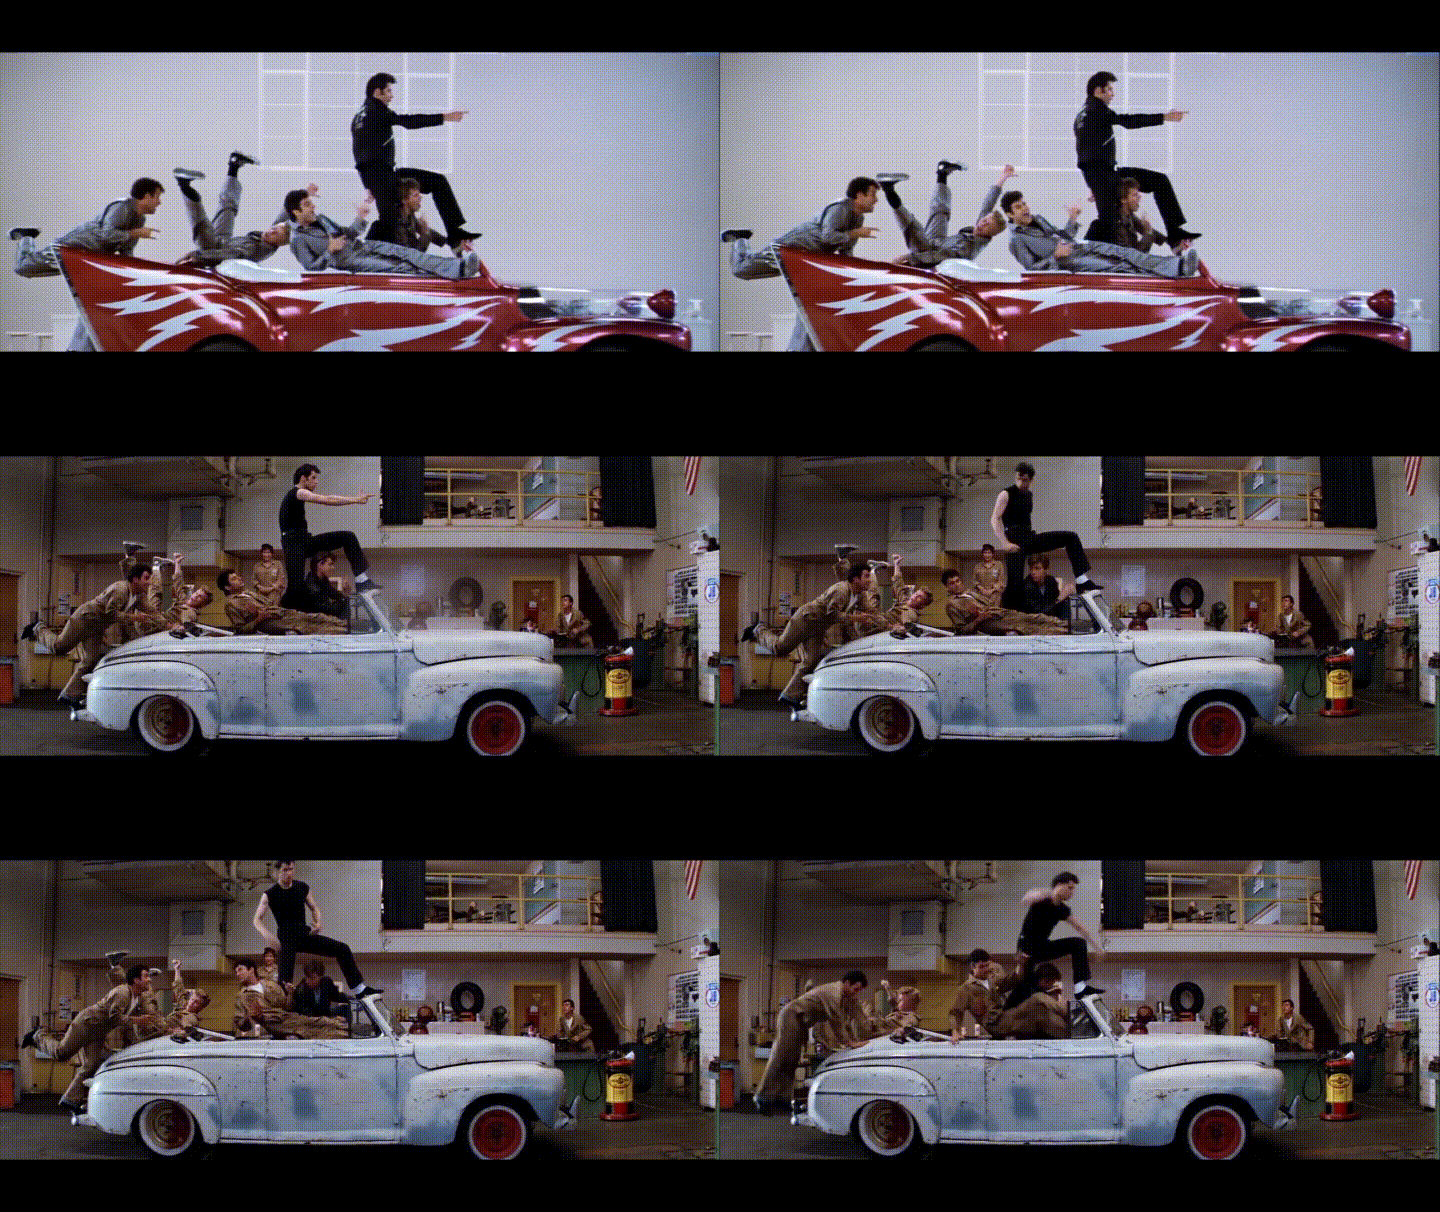
What is a "Freeze Frame Technique"?
The Freeze Frame technique is used, to form a motionless image from a film. The purpose of this technique is to convert a moving shot into a still photo shot. This technique would be commonly used in comedy shows, as this technique is a technique heavily used in the genre of comedy, to convey an comedic effect.
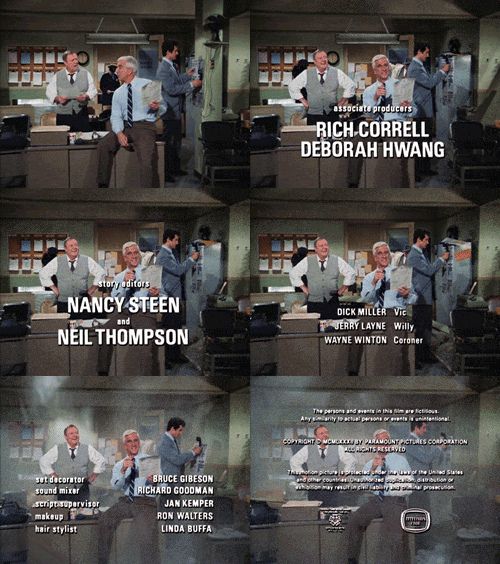
What is a "slow motion Technique"?
Slow Motion is technique through which time appears slowed down. The purpose of the slow motion technique, is used to slow down a recorded action of movement in a shot, to then play it back to add an emphasis and to elevate the importance of a scene in a film.
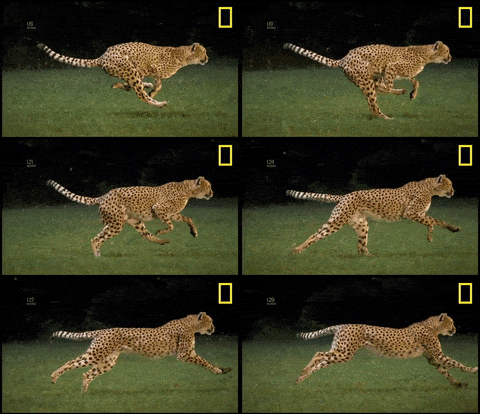
What is the "Split Screen Technique"?
The split screen technique is through which , two pieces of film are shown at the same time, sometimes to show a joint reaction of characters, showing characters going to a location or used to capture action between characters. The effect of this technique is used to simulate a seamless view of reality, like the human eye expressed to the audience.
What is the "Flashback/Flash Forward Technique"?
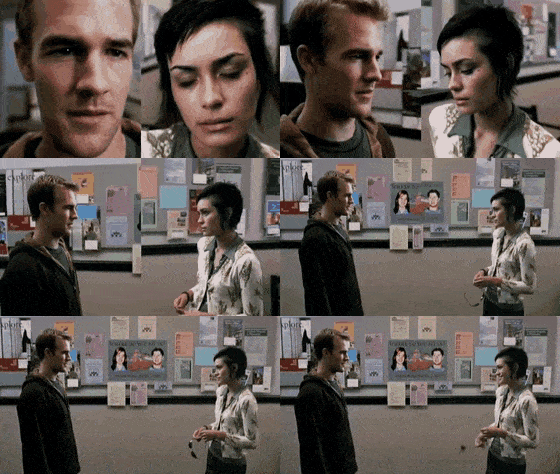
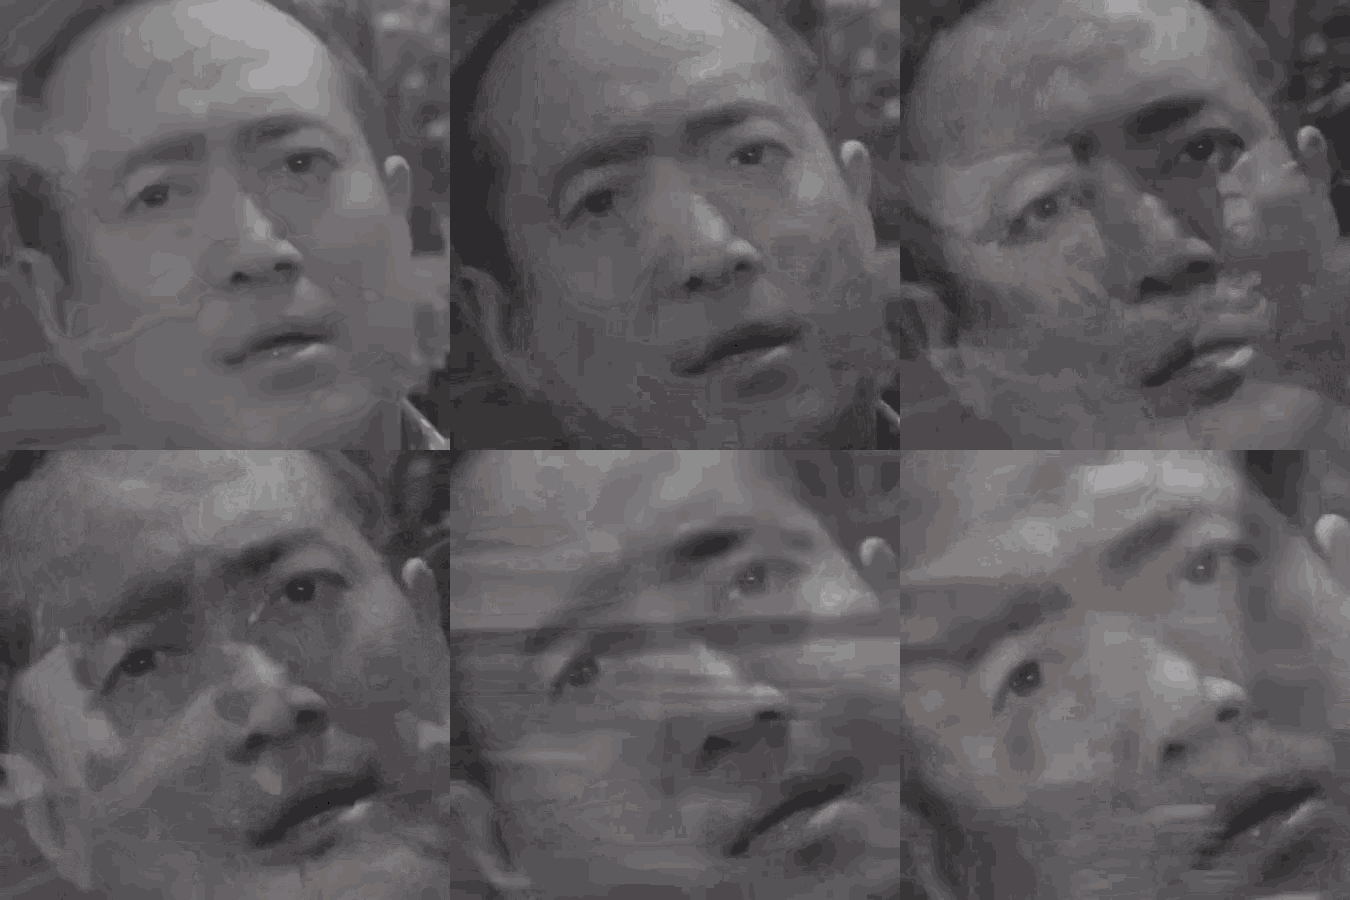
The Flashback technique is a technique, commonly used in films which occurs when the character remembers information of something that has happened in the past, now in the present time. This effect is normally added with a bright white light before showing the audience the flashback, followed by a black viewing of the flashback shown at the end. The effect of this technique is to break up the chronological flow of the film, conveying an realistic tone. However, The Flashforward technique is in contrast to the the Flashback technique, as this technique temporarily takes the narrative forward in time, from the current point in the story.
Purposes:
Manipulating the sense of time (Linear/non-Linear narratives):
The editing technique that could be used in manipulating the sense of time would be, a Timelapse and the Slow motion technique. because of how firstly, the slow motion technique is used in films to slow done the paste of a shot to show the significance of the scene, going into depths in whats happening in the scene. Where as, a Timelapse is used to speed up the time of something taken in a shot.
Controlling the perception of space to create a logical and believable space between characters /objects not sharing the same shot/angle:
Cross cutting would used in controlling the perception of space to create space between characters/shots and angles as, this technique is used to establish action occurring at the same time but in different places, which shows the controlling of different shots.
Controlling the rhythm and pace to control the flow of the production:
When controlling the rhythm and pace to control the flow of production, the Freeze frame editing technique would be more efficient, as this technique stops the movement in a shot which disrupts the continuous flow of the shot.
Creating a narrative through motivation (Motivated editing):
The Eyeline Match technique would be good to create a narrative through motivation editing as, this gives an point of view shot to the audience, following what the character sees in the shot. Allowing them to express the same kind of reaction as the character.
Creating a sense of drama through the withholding of information:
The Flashback technique would be used to create a sense of drama through keeping information, as this technique gives insight to the viewers from the past, which fills in any gaps and questions that were put in by the editor, that the audience may have had when watching.
Embracing continuity between different shots/angles:
Cross Cutting would be used for this as this technique as, uses this technique uses two or more shots that intercept, shown as a split screen that has shots that align with each other creating a continuity edited flow between different shots and angles.
Engaging the viewers through suspense and causing an audience reaction:
Quick cuts would be in film to create suspense and used as a technique that causes audience reaction, because of how quick cuts are used to create an tone of tenseness and the urgency of a scene, which is used to fasten up the pace of the narrative.
Form meaning by juxtaposing elements within editing and creation a sense of personal connection and empathy with a character:
A Multi-Strand Narrative technique could be be used for this, as this is the making up of multiple narratives in one story. Not only focusing on one character, but rather on multiple as the main characters, which makes the audience express multiple personal connections gained from he characters.
Learning Aim B: Continuity
Editing:
Continuity Edited Experiment Sequence:
This is my first continuity editing sequence that I made with Premier Pro, where I used existing clips that where disordered and mixed up. While editing I had to create an continuous flow of the sequence of a horror tone chase happening between two characters, Making sure the shots where going in a fluid flow from point A to point B.
My Scenario for my sequence:
A person getting ready to leave the house
Shooting Script:
Shooting Script:
This is my writing script that I created as the dialogue for my sequence, that will be spoken by the actor of my sequence. This script writing also includes an narration of the expressions of the character.
Why the shooting script?
This is my shooting script, that I created in order to plan for my scenario sequence that I will be shooting. In this shooting script, I planned out and discussed what type of transitions/shooting angles that will be used in actual sequence, the number of shots I'll be using, the duration of my shots (how long its gonna be), a brief description of how I'm going to use these shots, what costume is going to be worn, the props used and who's going to be included. All included so, I have something to refer too when shooting my sequence.
Script Writing:
Why the Script Writing?
Storyboard:
Why the Storyboard?
This is my storyboard that I created to show an clear visual of my idea for how I am going to shoot my actual continuity sequence. The storyboard includes images of the narrative for my sequence, showing the camera techniques that is going to be used, and to illustrate the changes between each scene as the sequence progresses.
My Edited continuity Sequence:
Development Portfolio
The purpose of my edited sequence was to record my own video using a range of different Camera techniques that would come together to create one fluid sequence based on the scenario I picked. Which, was a person getting ready to leave the house. The scene establishes with an, brief Over the shoulder shot of the character looking at the time on his phone. The use of the Over the shoulder shot , gives an point of view effect, as it gives the shot a sense of realism expressed to the viewers as, it seem like you the viewer is looking over the shoulder of the character. This shot is then followed by a Tracking Mid shot of the character walking to the other room. The tracking shot used, helps the audience keep track of the movement of the character at that moment of time, which is essential to an continuity sequence because of how the sequence would need to show the movement from Point A To point B in a continuous flow. This shot then follows with a brief panning shot, used to create an establishment of the characters new location after leaving the first location, used to give a brief overview. This then follows with a Mid shot of the character putting on his jacket, to then a Quick cut shot between the shots of the accessories and the character grabbing the objects, which is used to give brief context on what the character is looking for. A reaction shot is then followed after this shot, showing the character's reaction after looking at the time, which is used to create a pace building tone and a expression of emotion shown by the character as this now gives an indication to the viewers of how the character rely's on time shown through his reaction. This is then followed with a tracking shot of the character walking towards his shoes with, an Low angled shot included after showing an different angle of the character walking to his shoes and putting it on. The use of these two shots was to capture different angling of the characters movements. The last shot used in my editing sequence was a over the shoulder shot of the character opening the door, which was used to help the audience receive a clear visual of the purpose of the narrative being achieved, which was to to show someone getting ready and leaving the house. Through this edited sequence, my goal was to achieve a continuous flow of shots to create a single short story which is easy to understand based on the camera techniques used. However, overall I think my edited sequence was partly successful but could of included a number of improvements. An example would be the way transitions were used with my shots, from getting to one shot to another. As some the shots I edited together did not fully align with each other at times not creating a fluid flow, working as one of the cons of this sequence, and a contradiction to the aim of the sequence being to express continuity. Therefore if i could re shoot this sequence, I would make sure I add an ellaberate use of shots that align with the shots before to create one continuous flowing sequence. But, as well as having these con's included to my work I think what went well was the way in which I used a range of different shots, to express the intended scenario to the viewers and was able to use the intended effects and meanings of the camera techniques efficeintly for the viewers to understand clearly.
My senecio for my sequence:
Making an advert on product of choice
Non Continuity Experiment Sequence:
This is my first non continuity experiment sequence of a trailer for a film where I had a bunch of shot random that were all mixed up. because of this had to compose my own version of the sequence by editing what shots should be with each other and just making it seem like a movie trailer placed in a non chronological flow.
Shooting script:
Why the Shooting Script?
This my shooting script that I created, for my non continuity sequence as a plan to refer to , for when I actually shoot my sequence, on the scenario i picked being to create an advert advertising a product. In this shooting script, I talked what type of shots in going to be using in order to shoot, how long each shot is going to be when I shoot and a quick description on what is going to happen in the individual shots i'm going to be taking.
why the Script Writing?
This is my Writing Script that I created, as a script for the dialogue that is going to be spoken by, the character in my advert.
Script Writing:
Storyboard:
Why the Storyboard?
This is my storyboard that I created which includes, the length of each shot, what type of shot is going to be used, a description of the shot, and the image of the shot. I have added images to this document, to give an visual idea of how the shots i'm planning to use is going to appear when i actually record my non continuity sequence, which will be used as a reference.
My Edited Non Continuity Sequence:
Development Portfolio
The purpose of recording my second sequence, was to create a non continuity sequence composed of different camera and editing techniques, made in a non linear flow. This non continuity sequence was made with the intention of creating the scenario I picked being, to compose an advert that advertised a specific product of choice, which I choice to be a VR headset. My sequence includes a range of different non continuity camera /editing techniques that are used to create meaning/ effects to the viewer. Through the first opening shot of the sequence, it starts off with a Close up panning shot of the whole VR headset with a slow pace, the combination of using a panning and close up shot as the first shot was to, introduce the product to the viewers in a more suspense and interring way, as the aim is to introduce a new product that hasn't been seen before therefore trying to make it appeal in a way to gain the viewers attention. The sequence then transitions with a fade in to the next shot being, another panning shot. The transitioning was used to create a dramatic effect expressed to the viewers which leads in to the next shot, which was used to this time to show an individual part of the headset being the controllers done to help find out more about the product. This shot then cross fades in to a, Stationary shot showing, the product while placed in a spot being pulled out of the box by the character of the advert, which is done to begin the short narrative of the character testing the vr for the viewers. This shot then transitions to 5 panning mid shot with a 2-3 second duration between each shot, these shots were mainly included to demonstrate the features of the product in a way that will appeal to the viewers, showing the features of the vr, what you will be able to do. A Mid shot is then followed after these shot, showing the character placed in the middle of the screen raising up his hand with the headset on, and the controllers in his hand. This shot was included to again to draw the attention to the character wearing the product. The final shot is then introduced with a fade in transitioning, with slow close up zoom out shot showing the product for the last time. The use of the close up in this shot was used to bring in the products final appearance as the video comes to a close. Through this non continuity sequence as a whole my intent was to create a sequence made in a none chronological flow of and advert, and I think I have been able to achieve this through the use camera techniques shots used to create meaning to the viewers and the how I made the sequence easily interpreted to the viewers. However, to improve I would say I should've been more creative with the range of shots I used, as I could've used different shots to still create an effect to the viewers. Therefore, if I could re shoot this sequence, I would make sure I am more creative and I am, expanding the different techniques of shots, rather than using multiple of the same shots.
Learning Aim C: Non Continuity
Horror Trailer
Narrative Breakdown:
Why the Narrative Breakdown?
This is my narrative breakdown for my Horror Trailer sequence. This was included to give a brief description of the storyline. This includes the detailing of the Equilibrium, The Disequilibrium, The Recognition, The Attempts and the Resolution.
Shooting Script:
Why the Shooting Script?
This is the shooting script for my horror trailer sequence. This shooting script was included to plan on what is going to be in my trailer. This Shooting script includes, the number of shots, what editing technique is going to be used in the actual trailer, the duration of the shots and a small description on what is going on in the shot.
Cast: Kobby
Crew: Kobby
Prop:Knife,Tools and Book
Costume: Black clothing/casual wear.
Script Writing:
Why the Scrip Writing?
This is the Script Writing, that was included to plan on what is going to be said in the trailer.
StoryBoard:


Why the Storyboard?
This is the storyboard I created for my horror trailer sequence. I created this storyboard because I wanted to visually show the ideas, I had for my shooting script, through the storyboard. The storyboard shows the duration of shots, the number of shots, what type of shots is going to be used, what type of sound is going to be used, the description of the shot and a drawn image of what is going to be happening in the shot.
Video Log Sheet:
Why the Video log sheet?
This is my video log sheet, That was created for the tracking of the videos I took. In this sheet, I had to specify the description of the shot, the number of locations that I filmed in, the name of the shot, and finally what I though about the shot, specifying if the shpt was good or bad and why.
My Final Edited Horror Trailer:
Evaluation:
This is my Final edited Horror trailer sequence, that was composed using a rage of different planning materials to contribute towards the outcome. When composing this trailer, I decided to go with the typical supernatural narrative of a mysterious being appearing and terrorising the characters. However when composing this horror trailer, I had used a range of different planning documents to contribute to me making the final product. These documents consisted of, a narrative break, which was used to plan out the whole narrative structure of how the narrative would be if, made into an actual movie. The Shooting script, which was included to plan out the number of shots, the types of shots that will be used in the trailer, the duration of the shot, what would be happening in the shots mentioned, The cast, the propps, the crew and lastly the costume. The Storyboard, which was included as an visual mirroring of the Shooting script as it had drawings of the shots, and also specifying the type of sound that would be used in the actual trailer. The Script, which was used to plan out what was going to to be said in the trailer. And lastly, the Video Log Sheet, which was included to, record the shots that I took good or bad and specified if I used the shot and why or if I didn't use the shot and also why. When composing this Horror trailer, I made sure that I followed the traditional format of codes and conventions placed on the horror film genre being, venerability, death, fear of the unknown, confusion, enigma, and suspense. I also made sure that I included a sense of continuity around the start of the sequence, which was done to help the viewers briefly understand what is happening in the trailer, which we see widley in modern day horror trailers. The use of costume I decided to use for my characters, was mainly casual wear however, when it came to the monster I made sure to dress him in black clothings as black, symbolises darkness and evil which was an effective use of costume as this does its part in conveying intimidation and speaking fear to the audience. The propps I decided on using wasn't really heavy, just using an kitchen knife as, this is a weapon typically used in the genre of horror. The use of locations I decided to use was 4 Locations being My house, my local park, a local stairwell and lastly, outside a nearby park. The places I chose were local and wasn't too far from where I lived as this would mean if i wasn't happy with a shot I took I wouldn't have any trouble going to the location, to retake the shot. And the lighting I decided to use was mainly, lowkey lighting as this type of lighting is a popular use of lighting as it conveys emotion, seriousness and mystery. When producing this Horror trailer, I managed to follow the format of the horror genre through firstly including an establishing shot, that is typically used in most film trailers along with being used in horror trailers, to introduce a part of the area that, the movie will be taking place in which I chose to include in my sequence along with a recurring score as use of sound, to set the trailer with tone. At the end of this shot, the transition I decided to use was a dip to black, which then introduced the next shot. I decided on using the dip to black, as this use of transition is used heavily in films to emphasize the completion of a shot but also to create a constant and suitable pace, which is most needed when it comes to a trailer to not bore the viewers and to also create an enigma towards the audience helping my trailer to achieve its job of making the viewer interested in what happens next. The next shot that follows, after the transition, is also a shot like an establishing shot, but this time is taken in the night in contrast, to the shot before being shot in the daytime, which was done as the night evokes a sense of fear, suspense and thrill expressed to the viewers expressing an element of what the horror genre holds. My video then leads with a dip to black transition, to a close up shot of the protagonist in a Mysterious location beginning the short narrative of the horror trailer. The use of this shot is an effective shot as it makes the viewers question the characters motif, questioning why the character is there and what is going to happen. This shot then leads to a caption shot to then a dip to black to a long shot of the character walking in a distance which was included to embrace the continuity of the trailer. After this shot has taken place, the next shot to appear is a Mid shot of the character picking up a mysterious book which is shown, with the change of sound playing before to now an eerie sound with a mystifying effect, which was done to reinforce the horror elements of the trailer. This shot also reinforces the conventions of the horror genre as, the picking up of the book introduces the disequilibrium of the story, being a fear of the unknown to the viewers as, they would not know why the book is there and what the origin of the book is. This shot then transitions to a caption shot talking about the book, which was included to ask the questions that the viewers may have. After this brief caption shot, we then are shown to a shot of the surroundings to then a quick cut to trees. This shot of trees was included to the trailer as the use of dark trees expresses a dark ominous tone to the viewers giving the shot an eerie effect. This shot then dips to black, to a brief over the shoulder shot of a strange figure in a distance. The effect of this shot reinforces the horror convention of an enigma and the fear of the unknown as, we see a strange figure appearing which does its part to convey the mystery, while also doing its part in enticing the viewers into watching the actual movie. This shot then leads to a caption shot, which again asks the questions of what the viewers may have. After these two shots, the non diegetic score sound playing begins to soothe down leading to the next shot, being a point of view shot of the character looking back and front. I decided on using this technique specifically for this shot because of how, this technique plays a crucial role towards the elements of the horror genre as, its purpose is for the viewer to see what the character is seeing, which would be adding suspense to what is happening along with the soothe of the score, which would be creating tension for the next shot ahead. The next shot that trails after the previous shot, is the jump scare shot of the character reading the book and the monster popping his head to the screen. Along with, non diegetic sound building up to a loud bang. The effect of these two techniques put together to create the jump scare, was to scare and catch the audience off guard with the change of image and the brief loud recurring sound heard by the audience. I decided on using the over the shoulder shot for the jumps scare rather than a different shot, because of how this shot gives the viewers another perspective of viewings conveying the suspense element, but also because of how this technique makes the scene more dynamic to the viewers. After this shot was taken place, we hear the faint base sound of the jump scare ringing on over to the next shots, which was done this way to emphasize the effect of the shot to the next other shots. The bass non diegetic sound then starts to gradually increase and is joined by ghostly mystifying sound that is added to the next shot, being a tracking shot of the character running with the book in hand. I decided on using this specific type of non diegetic sound to the shot, rather than using the actual sound of the shot I took because of how, the sound used sets a frightening tone felt by the viewers, making them on edge. The use of the including the tracking shot of the character running with the book in hand, was included to immerse the viewers into the short journey of the character running. This shot was also included to begin the non continuity aspects of the trailer, as the main purpose of a trailer is to tease what is going to be happening in the actual movie through briefly showing parts of the actual film. The next shot leads in with a dip to black from the previous shot to now a worm's eye view of the strange being walking past. I decided on using this brief shot of the monster walking past, to again show a unique perspective of the action, rather than using a different shot that would not have really flowed with what was happening in the shot. After this shot took place, the next shot to appear fades in to a close up shot of the character out of breath and panting. This shot is an effective shot as this gives a personal appeal to the viewers and conveys suspense, filling the characters with questions that would only be answered, if they watch the movie. This shot is then followed by a caption shot, that introduces a different diegetic sound that is now more tense, further embracing the non continuity that the trailer brings. After the showings of different non continuity shots, with the tense non diegetic sound playing, starts to gradually smooth's down to same sound that was originally playing around the beginning, along with now a heartbeat sound playing through. In these few shots of the trailer, I decided to use the cross cutting technique of a tracking canted angle of the monster in a red lowkey lighting along with a range of different shots. I decided on making the low key lighting appear red because of how it holds connotations of death, blood also emphasizing fear to the viewers, further linking to the conventions of the horror genre. The choice of using the cross cutting technique rather than a different editing technique for the closing of my trailer was also, because of how this technique conveys a dramatic effect as it bounces from the shot of the monster to random shots associated to the trailer, which was effective as, it would be doing its part in evoking suspense to the viewers. The use of the choice of sound used at this point of the trailer was done to build up pace, as I made sure I aligned my shots with the sound of each beat. When talking about the target audience, I would say, this trailer appeals directly to the intended target audience being over the ages of 16 and upwards rather than being rated 18 over as, this trailer does not really disclose any extreme gore viewings that would be unsuitable for 16 year old's. In conclusion, I would say the Horror trailer I created was a successful trailer as, I was able to meet a wide majority of the conventions of the horror genre effectively to put my point across. However, If I could change and improve some aspects of my trailer in would say, including more use of dialogue and creating a better and engaging caption, that link with the genre would be very effective.
Screenshots:
Location 1- The park

Location 3- In house
Location 2-Behind the park


Location 4-Stairwell

Dip to Black transition used:

Caption shots:


The captions asking the questions of what the audience may have when watching the events of the trailer.
Lighting used:


The lighting I used in my horror trailer, was through the LED lights that I had in my house. This was an effective use of bringing lighting as, I didn't have to edit lighting into my edited sequence, using the generated light coming from the LED lights I had, proving effective as it was natural light used.
Jumpscare:

Jumpscare

The space between the jump scare and the next shot, was done this way to emphasize the effect of the jumpscare to the audience as, this is shown with the base sound ringing throughout.